Drawing the national flag with Inkscape
Tóm lược nội dung
This lesson provides step-by-step instructions for basic operations in Inkscape to create the national flag, including:
- Creating and saving vector graphics files
- Drawing and setting dimensions for rectangles and stars
- Setting fill and stroke colors
- Aligning objects using the Align and Distribute tool
Creating and saving files
-
Create a new file
Select File > New from the main menu.
-
Save the file
Select File > Save As... from the main menu.
In the save dialog box:
- Navigate to the drive and folder where you want to save the file.
- File name: enter
vietnam-flag. - Save as type: leave the default extension Inkscape SVG (
*.svg). - Click Save.
Drawing the flag
-
Select the rectangle tool
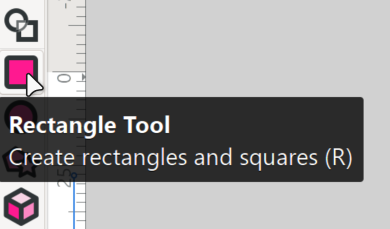
On the left toolbar, select the Rectangle tool (shortcut R).
-
Remove the stroke
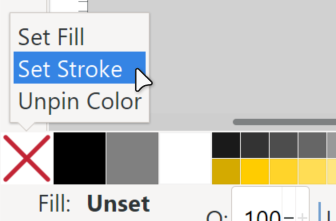
In the color palette at the bottom, right-click the transparent color box (marked with an X) > select Set stroke.
-
Set the red fill color
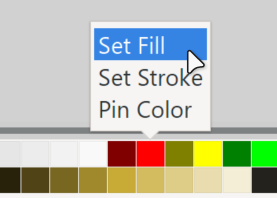
In the color palette, right-click the red color box > select Set fill.
-
Draw the rectangle
Click and drag the mouse to draw a rectangle of any size.
-
Set the dimensions
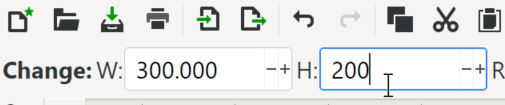
- Enter the width W:
300. - Enter the height H:
200.
Note:
After resizing, the rectangle may extend beyond the page boundary. This is completely normal in vector graphics and does not affect the actual drawing elements. - Enter the width W:
Drawing the star
-
Deselect the rectangle
Simply click anywhere on an empty area.
-
Select the star tool
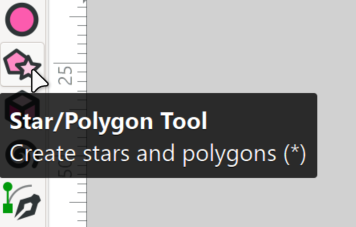
On the left toolbar, select the Star/Polygon Tool
-
Draw the star
Click and drag the mouse to draw a star of any size.
Note:
The star may appear tilted at this stage; it will be adjusted in a later step. -
Shape the star
To proportion the star points correctly, enter a Spoke ratio value:
0.38(1).-
Let \(r\) and \(R\) represent the inner radius and outer radius of the star, respectively.
The standard ratio between these two radii according to the "golden ratio" formula is: \(\frac{r}{R} = \frac{1}{\varphi^2}\)
Where: \(\varphi = \frac{1 + \sqrt{5}}{2} \approx 1.618\)
Therefore: \(\frac{r}{R} = \frac{1}{1.618^2} \approx 0.381982\)
Thus, \(r\) can be rounded to \(r \approx 0.38 R\).

-
-
Rotate the star
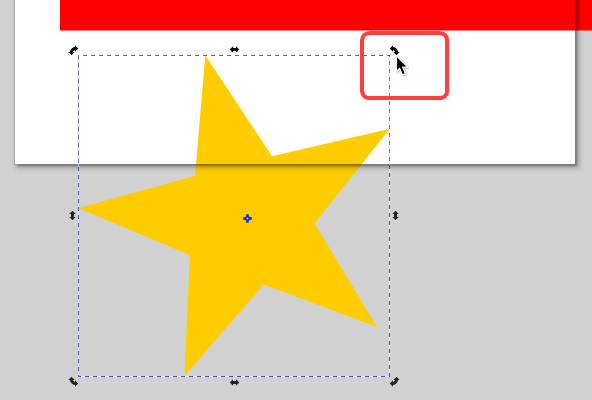
Click the star a second time (1), then drag a corner handle to rotate it upright.
-
In Inkscape, there are two object selection modes:
- First click: displays straight handles used for resizing.
- Second click: displays curved handles used for rotating.
-
-
Set the dimensions
Enter the dimensions for the star:
- Enter width W:
114 -
Enter height H:
108.5(1)-
Basis for calculating the star's dimensions:
The flag has a length of \(3a = 300\) and a width of \(2a = 200\).
The radius of the circumscribed circle of the star is \(R = \frac{3a}{5} = 60\).
Based on trigonometric formulas, we have:
- Width: \(W = 2R \cdot \sin(72^\circ) \approx 114\)
- Height: \(H = R \cdot (1 + \cos(36^\circ)) \approx 108.5\)
-
- Enter width W:
Centering the star on the flag
-
Select both objects
- Click to select the flag.
- Press and hold the Shift key and click to select the star.
-
Center the star on the flag
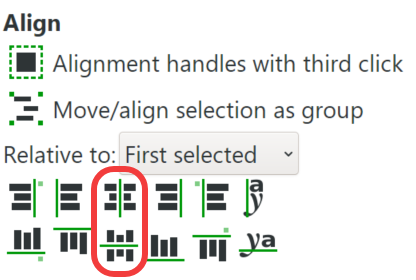
- Select Object from the main menu > select Align and Distribute...
- In the panel on the right, under Relative to: select
First selected, which aligns objects relative to the first selected object (in this case, the flag). - Click the following two alignment buttons in sequence: center on vertical axis and center on horizontal axis.
Grouping and locking the aspect ratio of objects
-
Group the objects
With both the flag and star selected, right-click > select Group
[or press ++ctrl+g++]to combine both into a single object.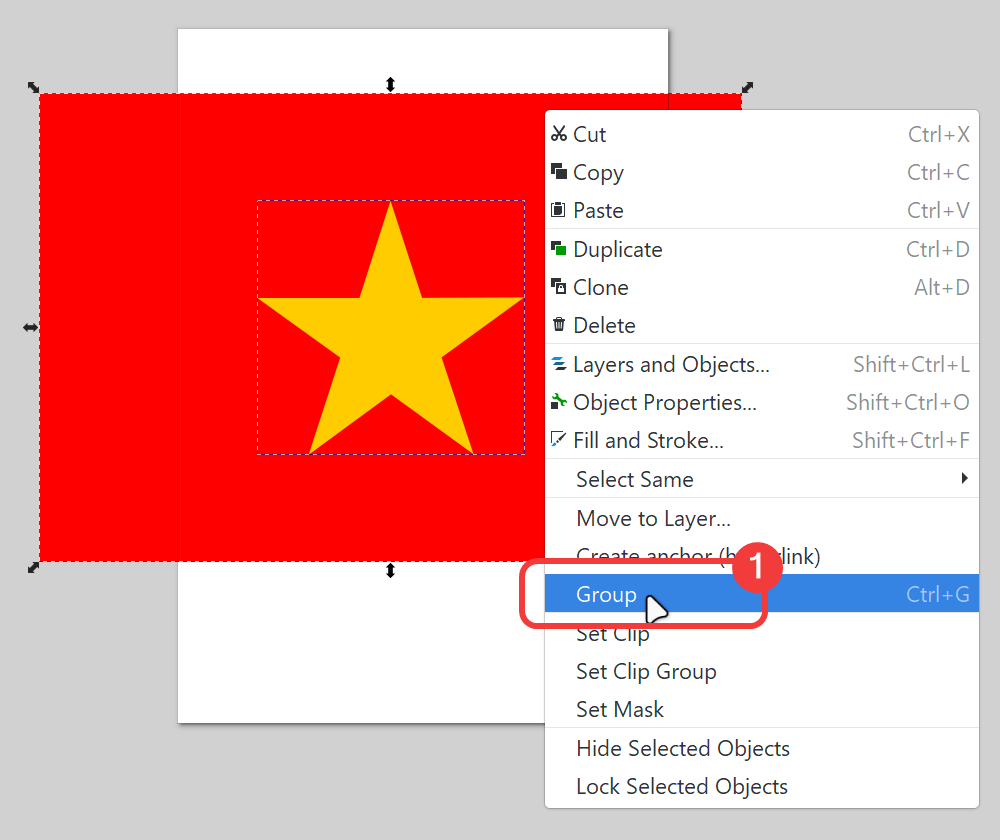
-
Lock the aspect ratio
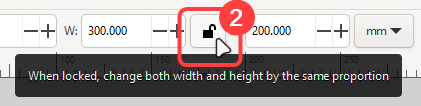
On the Tool Controls bar, click the lock icon button to lock the proportion between width and height.
-
Resize the drawing
In the width field W, enter
150to scale down the flag.The height H will automatically adjust proportionally to
100without distortion. -
Save the file
Press Ctrl+S to save the file. Completed.
Note:
It is recommended to save your work frequently during the drawing process.
Sample drawing
The completed drawing file is available on GitHub.
Some English words
| Vietnamese | Tiếng Anh |
|---|---|
| căn chỉnh (các đối tượng) | align (objects) |
| chiều cao | height |
| chiều rộng | width |
| chọn màu đường viền | set strike |
| chọn màu nền | set fill |
| gom nhóm | group |